Introduction
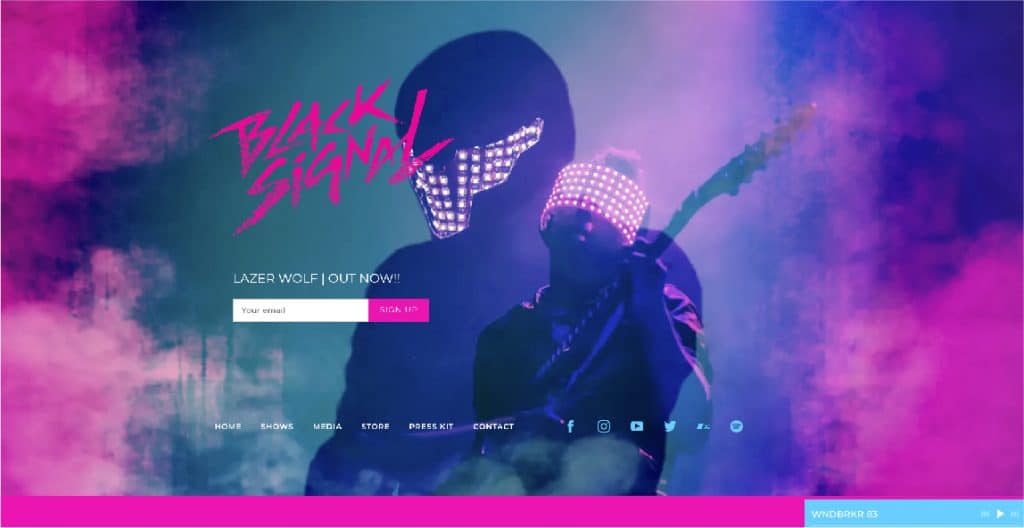
Creating a website from scratch can seem like a daunting task. Especially for beginners But with the right tools and advice Creating a music-themed website is therefore fun and straightforward. This course will guide you through the process of creating a simple but visually appealing music website template using HTML, CSS, and JavaScript. The final product has an easy-to-remove layout. Music play/pause controls and channels for the perfect music experience.
Following this advice You will learn how to:
- Structure a basic website layout using HTML.
- Decorate web pages with CSS to make them look attractive.
- Integrates JavaScript to control music player functionality. Enable interactive visual play and pause features.
Prerequisites
To get the most out of this tutorial You’ll need a basic understanding of HTML, CSS, and JavaScript if you’re a beginner. no need to worry! We will cover the basics in an easy to understand manner.
Project Overview
In this project, we’ll create a music website template with the following sections:
- Home Page – A landing page showcasing the main theme.
- Music – A section to play music, including play/pause functionality.
- About – Information about the music or artists.
- Contact – Details on how to reach out.
Step-by-Step Approach
- Basic HTML Structure
We’ll start by setting up the basic layout of the page using HTML. Here’s a simple structure:
<!DOCTYPE html>
<html lang="en">
<head>
    <title>My Music Website</title>
</head>
<body>
    <div class="container">
        <!-- Navigation Bar -->
        <ul class="nav">
            <li><a href="#">CONTACT</a></li>
            <li><a href="#">ABOUT</a></li>
            <li><a href="#">ARTISTS</a></li>
            <li><a href="#">MUSIC</a></li>
            <li><a href="#">HOME</a></li>
        </ul>
    </div>

    <!-- Content Area -->
    <div class="content">
        <div class="left-col">
            <h1>MY <br> SOUNDS</h1>
        </div>
        <div class="right-col">
            <p>Click Here To Listen</p>
            <img src="media/play.png" id="icon">
        </div>
    </div>

    <!-- Audio Section -->
    <audio id="mysound">
        <source src="media/music.mp3" type="audio/mp3">
    </audio>
</body>
</html>
- Adding Style with CSS
Then style it with CSS to make the page look good. We will add background images. Format the navigation bar and create an eye-catching layout:
/* Styling the body */
* {
    padding: 0;
    margin: 0;
}

/* Background styling */
.container {
    height: 100vh;
    width: 100%;
    background-image: url('your-background-image-url');
    background-size: cover;
    background-position: center;
}

/* Navigation styling */
.nav li {
    float: right;
    list-style: none;
}

.nav a {
    height: 50px;
    line-height: 50px;
    font-size: 1rem;
    padding: 5px 35px;
    color: black;
    text-decoration: none;
}

/* Content styling */
.content {
    position: absolute;
    top: 45%;
    width: 100%;
}

.left-col {
    margin-left: 11%;
}

.left-col h1 {
    font-size: 50px;
    color: crimson;
}

.right-col {
    float: right;
    margin-right: 10%;
    margin-top: -5%;
    display: flex;
    align-items: center;
}
- Adding Interactivity with JavaScript
Now we will use JavaScript to enable the play/pause functionality for the music player. Here we will use basic JavaScript functions to handle audio playback:
let mysound = document.getElementById("mysound");
let icon = document.getElementById("icon");

icon.onclick = function () {
    if (mysound.paused) {
        mysound.play();
        icon.src = "https://your-url.com/pause-icon.png";
    } else {
        mysound.pause();
        icon.src = "https://your-url.com/play-icon.png";
    }
}
Conclusion
Follow the steps above. You’ve created a basic but beautiful music website template using HTML, CSS, and JavaScript. This course will show you how you can use simple coding skills. To create an attractive music-themed website along with interactivity You can expand this foundation by adding more pages. Use advanced CSS animations or integrate external music APIs for a richer experience.

