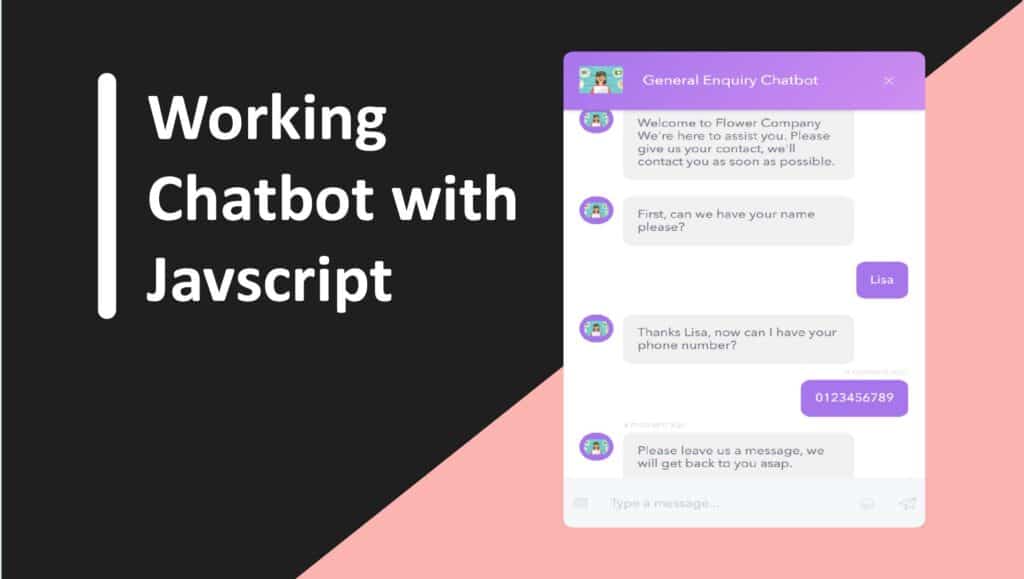
A functional chatbot is a web application designed to answer user questions in a conversational, human-like manner. With OpenAI’s API, you can leverage HTML, CSS, and JavaScript to build chatbots. that work for your project Here are detailed instructions on how to create it from scratch.
Prerequisites
- Basic knowledge of HTML, CSS, and JavaScript.
Step-by-Step Approach
1. Project Setup
Create a directory for your project with the following files:
2. Structure the Chatbot in HTML
Here’s the structure of your chatbot interface:
<!DOCTYPE html>
<html lang="en">
<head>
    <meta charset="UTF-8">
    <meta name="viewport" content="width=device-width, initial-scale=1.0">
    <title>Chatbot</title>
    <link rel="stylesheet" href="style.css">
</head>
<body>
    <div class="chatBot">
        <div class="chat-header">
            <h2>Chatbot</h2>
            <button class="close-btn" onclick="cancel()">X</button>
        </div>
        <div class="chatbox"></div>
        <div class="chat-input">
            <textarea placeholder="Type a message..."></textarea>
            <button>Send</button>
        </div>
    </div>
    <script src="script.js"></script>
</body>
</html>
3. Style the Chatbot with CSS
Use CSS to create an appealing design:
body {
    font-family: Arial, sans-serif;
    background-color: #f4f4f4;
    margin: 0;
    padding: 0;
    display: flex;
    justify-content: center;
    align-items: center;
    height: 100vh;
}

.chatBot {
    width: 350px;
    height: 500px;
    background-color: #fff;
    border-radius: 10px;
    box-shadow: 0 4px 8px rgba(0, 0, 0, 0.2);
    display: flex;
    flex-direction: column;
}

.chat-header {
    background-color: #007bff;
    color: white;
    padding: 10px;
    display: flex;
    justify-content: space-between;
    align-items: center;
    border-top-left-radius: 10px;
    border-top-right-radius: 10px;
}

.chatbox {
    flex: 1;
    padding: 10px;
    overflow-y: auto;
}

.chatbox .chat {
    margin: 10px 0;
}

.chat-outgoing {
    text-align: right;
}

.chat-incoming {
    text-align: left;
}

.chat-incoming p, .chat-outgoing p {
    display: inline-block;
    padding: 8px 12px;
    border-radius: 10px;
    max-width: 80%;
}

.chat-incoming p {
    background-color: #f1f1f1;
    color: #333;
}

.chat-outgoing p {
    background-color: #007bff;
    color: white;
}

.chat-input {
    display: flex;
    padding: 10px;
    border-top: 1px solid #ddd;
}

.chat-input textarea {
    flex: 1;
    resize: none;
    padding: 10px;
    border: 1px solid #ddd;
    border-radius: 5px;
    margin-right: 10px;
}

.chat-input button {
    padding: 10px 20px;
    background-color: #007bff;
    color: white;
    border: none;
    border-radius: 5px;
    cursor: pointer;
}

.chat-input button:hover {
    background-color: #0056b3;
}

.close-btn {
    background: none;
    border: none;
    color: white;
    font-size: 16px;
    cursor: pointer;
}
4. Add Functionality with JavaScript
The JavaScript file handles the chatbot’s functionality, including API calls:
const chatInput = document.querySelector('.chat-input textarea');
const sendChatBtn = document.querySelector('.chat-input button');
const chatbox = document.querySelector(".chatbox");
let userMessage;

const API_KEY = "your_openai_api_key_here"; // Replace with your OpenAI API key

const createChatLi = (message, className) => {
    const chatLi = document.createElement("li");
    chatLi.classList.add("chat", className);
    chatLi.innerHTML = `<p>${message}</p>`;
    return chatLi;
};

const generateResponse = (incomingChatLi) => {
    const API_URL = "https://api.openai.com/v1/chat/completions";
    const messageElement = incomingChatLi.querySelector("p");
    const requestOptions = {
        method: "POST",
        headers: {
            "Content-Type": "application/json",
            "Authorization": `Bearer ${API_KEY}`
        },
        body: JSON.stringify({
            "model": "gpt-3.5-turbo",
            "messages": [{ role: "user", content: userMessage }]
        })
    };

    fetch(API_URL, requestOptions)
        .then(res => {
            if (!res.ok) throw new Error("Network response was not ok");
            return res.json();
        })
        .then(data => {
            messageElement.textContent = data.choices[0].message.content;
        })
        .catch(() => {
            messageElement.classList.add("error");
            messageElement.textContent = "Oops! Something went wrong. Please try again!";
        })
        .finally(() => chatbox.scrollTo(0, chatbox.scrollHeight));
};

const handleChat = () => {
    userMessage = chatInput.value.trim();
    if (!userMessage) return;
    chatbox.appendChild(createChatLi(userMessage, "chat-outgoing"));
    chatbox.scrollTo(0, chatbox.scrollHeight);

    setTimeout(() => {
        const incomingChatLi = createChatLi("Thinking...", "chat-incoming");
        chatbox.appendChild(incomingChatLi);
        chatbox.scrollTo(0, chatbox.scrollHeight);
        generateResponse(incomingChatLi);
    }, 600);
};

sendChatBtn.addEventListener("click", handleChat);

function cancel() {
    document.querySelector(".chatBot").style.display = "none";
    const lastMsg = document.createElement("p");
    lastMsg.textContent = "Thanks for using our Chatbot!";
    lastMsg.classList.add('lastMessage');
    document.body.appendChild(lastMsg);
}
5. Output
- When the API Key is valid, the chatbot responds to user queries.
- If there’s an issue with the API Key, an error message is displayed.
You’re now ready to use your chatbot! Let me know if you need further assistance.
Conclusion
Creating a chatbot using HTML, CSS, and JavaScript is a rewarding way to enhance your skills while developing a functional project. By integrating OpenAI’s API, you can create a conversational bot capable of responding to user inputs dynamically.
This guide provides you with a solid foundation to build upon. You can expand the project by adding features like:
- Storing conversations in a database.
- Improving the chatbot’s UI for better user experience.
- Integrating voice recognition or speech-to-text functionality.
- Deploying the chatbot on a live website or platform.
With further improvements, this chatbot can become a valuable tool for personal, educational, or business applications.

