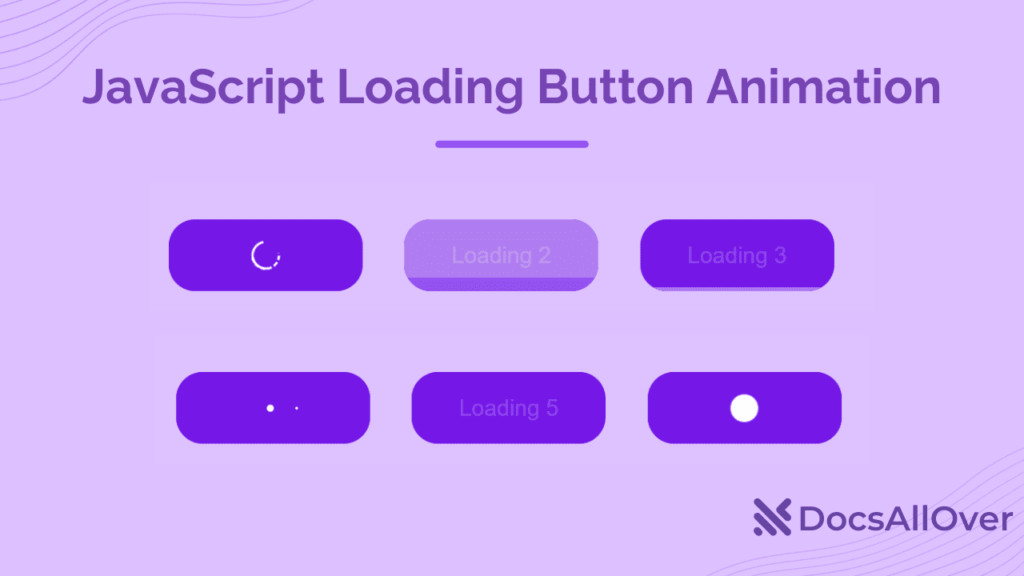
One essential aspect of modern web development is improving user experience by providing visual feedback during interactions, especially when dealing with forms and asynchronous operations. One effective way to achieve this is through a button loading animation, where a button temporarily transforms into a loading state with a spinner, letting users know that a task is in progress.
In this blog post We’ll create a simple button loading animation using HTML, CSS, and JavaScript. This course is ideal for beginners who want to add interactivity to their website.
Project Overview
Our project includes:
- Basic HTML form with username and password fields.
- Submit button that will trigger the loading animation.
- The loading spinner that appears on the button when the user submits the form which simulates a running process.
- Small JavaScript function that adds and removes loading animations.
- Simulate asynchronous operations, such as submitting a form.
Let’s dive into the code!
Step 1: HTML Structure
We’ll start with the basic structure of our HTML form. This form has input fields for a username and password. and a button that will trigger the animation.
<!DOCTYPE html>
<html lang="en">
<head>
    <meta charset="UTF-8">
    <meta name="viewport" content="width=device-width, initial-scale=1.0">
    <title>Button Loading Animation</title>
    <link rel="stylesheet" href="style.css">
</head>
<body>
    <div class="form-container">
        <h1>Button Loading Animation</h1>
        <form id="my-form">
            <label for="username">Username:</label>
            <input type="text" id="username" name="username" required>
            <br><br>
            <label for="password">Password:</label>
            <input type="password" id="password" name="password" required>
            <br><br>
            <div class="btn-container">
                <button id="loadButton" class="btn">
                    Submit
                    <div class="loader" id="loader"></div>
                </button>
            </div>
        </form>
    </div>
    <script src="script.js"></script>
</body>
</html>
Step 2: CSS for Styling
Now we will style the form and buttons with the load spinner. It defines the CSS layout, button hover effect and loading the spinner animation.
body {
    display: flex;
    justify-content: center;
    align-items: center;
    height: 100vh;
    margin: 0;
}

.form-container {
    background-color: gray;
    width: 40%;
    padding: 20px;
    border-radius: 10px;
}

.btn-container {
    display: flex;
    align-items: center;
}

.btn {
    padding: 10px 20px;
    background-color: blue;
    color: #fff;
    border: none;
    cursor: pointer;
    border-radius: 5px;
    display: flex;
    align-items: center;
    justify-content: space-between;
}

.btn:hover {
    background-color: #0056b3;
}

.loader {
    display: none;
    border: 4px solid rgba(255, 255, 255, 0.3);
    border-top: 4px solid blue;
    border-radius: 50%;
    width: 25px;
    height: 25px;
    animation: spin 1s linear infinite;
    margin-left: 10px;
}

@keyframes spin {
    0% {
        transform: rotate(0deg);
    }
    100% {
        transform: rotate(360deg);
    }
}

.loading {
    background-color: #ccc;
    pointer-events: none;
}
Step 3: Adding JavaScript for Interaction
The magic happens in JavaScript code. We’ll use JavaScript to listen for submit button clicks, display the loader, and simulate a 2-second asynchronous operation using setTimeout when the operation completes. Buttons and forms will return to normal.
const loadButton = document.getElementById('loadButton');
const loader = document.getElementById('loader');
const demoForm = document.getElementById('my-form');

loadButton.addEventListener('click', (event) => {
    event.preventDefault();  // Prevent form from submitting

    // Disable the button and show the loader
    loadButton.disabled = true;
    loader.style.display = 'inline-block';

    setTimeout(() => {
        // Restore the button state and hide the loader after 2 seconds
        loadButton.disabled = false;
        loader.style.display = 'none';
        demoForm.reset();
    }, 2000);
});
Step 4: See the Result!
Once you have your HTML, CSS, and JavaScript files ready, you can run this on your local machine or server. When you click the send button The loading spinner will appear for 2 seconds to give the user a visual feedback before resetting the form.
Conclusion
Creating button loading animations is a simple but effective way to improve user experience. This is especially true during form submissions or other asynchronous actions. By combining HTML, CSS, and JavaScript, we can easily respond to users. It makes the application feel more responsive and interactive. Feel free to use this example as a template for your own projects. You can customize the button style. Additional loader animations Or, this can be combined into a larger format or application. Happy coding!

