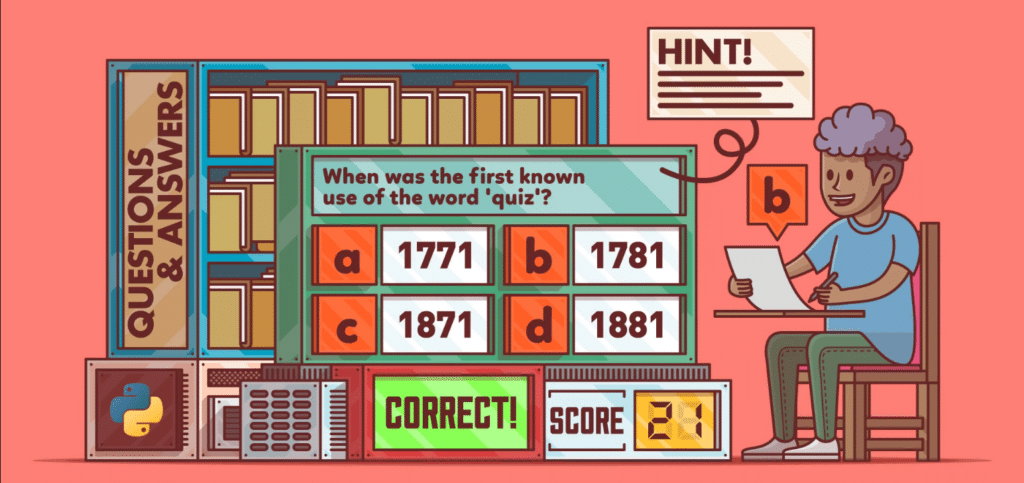
Creating a quiz application using JavaScript is an excellent way to practice web development skills and create an engaging project that can test your knowledge. In this guide, we will walk you through the process of creating a simple quiz application that fetches questions from an API, displays them to the user, and calculates the score based on the user’s answers. By the end, you’ll have a functioning quiz app that you can easily expand and customize.
How to Create a Quiz Application Using JavaScript: A Step-by-Step Guide
Last Updated: 22 Jul, 2024
Creating a quiz application using JavaScript is an excellent way to practice web development skills and create an engaging project that can test your knowledge. In this guide, we will walk you through the process of creating a simple quiz application that fetches questions from an API, displays them to the user, and calculates the score based on the user’s answers. By the end, you’ll have a functioning quiz app that you can easily expand and customize.
Prerequisites
To create this quiz application You must have the following basic knowledge.
- HTML: To structure questions and answers.
- CSS: For styling the Q&A interface.
- JavaScript: To implement interrogation logic and interact with the DOM.
Project Overview
The quiz application will have three main components:
- HTML files: Define their structure using HTML elements such as <div>, <button>, <input>, and <label>.
- CSS Files: Style HTML elements to make your quiz visually appealing.
- JavaScript file: Handles logic including question retrieval, display, and score calculation.
We’ll start with a simple test. with three questions But you can expand it to include additional questions. Search terms are retrieved from external APIs.
Step-by-Step Implementation
1. Create a Project Workspace
Begin by creating a project folder with the following files:
index.html: Contains the structure of the quiz.style.css: For styling the quiz elements.script.js: For implementing the quiz logic using JavaScript.
2. Setting Up HTML
To define the structure of questions and answers in index.html, you can use the following template:
<!DOCTYPE html>
<html lang="en">
<head>
    <meta charset="UTF-8">
    <meta name="viewport" content="width=device-width, initial-scale=1.0">
    <title>JavaScript Quiz App</title>
    <link rel="stylesheet" href="style.css">
</head>
<body>
    <div id="quiz-container">
        <h1>JavaScript Quiz</h1>
        <div id="ques">Loading questions...</div>
        <div id="opt"></div>
        <button id="btn" onclick="checkAns()">Submit Answer</button>
        <div id="score"></div>
    </div>
    <script src="script.js"></script>
</body>
</html>
3. Styling with CSS
In style.css, style the quiz elements:
body {
    font-family: Arial, sans-serif;
    display: flex;
    justify-content: center;
    align-items: center;
    height: 100vh;
    background-color: #f7f7f7;
    margin: 0;
}

#quiz-container {
    background-color: white;
    padding: 20px;
    box-shadow: 0px 0px 10px rgba(0, 0, 0, 0.1);
    width: 300px;
    text-align: center;
}

button {
    margin-top: 20px;
    padding: 10px 20px;
    background-color: #4CAF50;
    color: white;
    border: none;
    cursor: pointer;
}

button:hover {
    background-color: #45a049;
}
4. Adding JavaScript Logic
In script.js, implement the quiz logic. Here’s a breakdown of the key functions:
- Fetch Questions: Use the
fetchQuestions()function to get questions from an API. - Load Questions: Use
loadQues()to display each question and options. - Check Answer: Use
checkAns()to validate the user’s answer and update the score. - Load Score: Use
loadScore()to display the final score and correct answers.
Code Example
Here’s the JavaScript code for your quiz application:
let Questions = [];
const ques = document.getElementById("ques");

async function fetchQuestions() {
    try {
        const response = await fetch('https://opentdb.com/api.php?amount=10');
        if (!response.ok) {
            throw new Error(`Something went wrong! Unable to fetch the data.`);
        }
        const data = await response.json();
        Questions = data.results;
    } catch (error) {
        console.log(error);
        ques.innerHTML = `<h5 style='color: red'>${error}</h5>`;
    }
}

fetchQuestions();

let currQuestion = 0;
let score = 0;

if (Questions.length === 0) {
    ques.innerHTML = `<h5>Please Wait! Loading Questions...</h5>`;
}

function loadQues() {
    const opt = document.getElementById("opt");
    let currentQuestion = Questions[currQuestion].question;
    currentQuestion = currentQuestion.replace(/"/g, '\"').replace(/'/g, '\'');

    ques.innerText = currentQuestion;
    opt.innerHTML = "";

    const correctAnswer = Questions[currQuestion].correct_answer;
    const incorrectAnswers = Questions[currQuestion].incorrect_answers;
    const options = [correctAnswer, ...incorrectAnswers].sort(() => Math.random() - 0.5);

    options.forEach((option) => {
        option = option.replace(/"/g, '\"').replace(/'/g, '\'');
        const choicesdiv = document.createElement("div");
        const choice = document.createElement("input");
        const choiceLabel = document.createElement("label");
        choice.type = "radio";
        choice.name = "answer";
        choice.value = option;
        choiceLabel.textContent = option;
        choicesdiv.appendChild(choice);
        choicesdiv.appendChild(choiceLabel);
        opt.appendChild(choicesdiv);
    });
}

setTimeout(() => {
    loadQues();
    if (Questions.length === 0) {
        ques.innerHTML = `<h5 style='color: red'>Unable to fetch data, Please try again!</h5>`;
    }
}, 2000);

function loadScore() {
    const totalScore = document.getElementById("score");
    totalScore.textContent = `You scored ${score} out of ${Questions.length}`;
    totalScore.innerHTML += "<h3>All Answers</h3>";
    Questions.forEach((el, index) => {
        totalScore.innerHTML += `<p>${index + 1}. ${el.correct_answer}</p>`;
    });
}

function nextQuestion() {
    if (currQuestion < Questions.length - 1) {
        currQuestion++;
        loadQues();
    } else {
        document.getElementById("opt").remove();
        document.getElementById("ques").remove();
        document.getElementById("btn").remove();
        loadScore();
    }
}

function checkAns() {
    const selectedAns = document.querySelector('input[name="answer"]:checked').value;
    if (selectedAns === Questions[currQuestion].correct_answer) {
        score++;
    }
    nextQuestion();
}
Output
This code will create a working quiz application. After answering all questions The app will show your total score with correct answers.
Advanced Enhancements
While this guide covers the basics, there are plenty of ways to enhance the quiz:
- Custom API: Replace the existing API with a custom API for your specific quiz needs.
- Question Shuffling: Implement random shuffling of questions each time the quiz starts.
- Score Weighting: Assign different scores to questions based on difficulty.
- Timer: Add a countdown timer to each question to make the quiz more challenging.
- Styling: Use advanced CSS to improve the design and user experience.
Conclusion
After this tutorial You’ve created a simple quiz application using HTML, CSS, and JavaScript. Feel free to expand on this by adding more questions, improving the UI, or adding advanced features like user accounts, tracking, and scores. This is a great project. Great for beginners to improve your JavaScript skills and create functional websites. Ready to become a full-stack developer? Check out our full-stack development curriculum, which covers everything from front-end to back-end with hands-on projects and real-world examples. Register now and start your journey towards expert website development!

